sebadorn.de

And then it was gone – Notes about developing my js13k entry of 2020

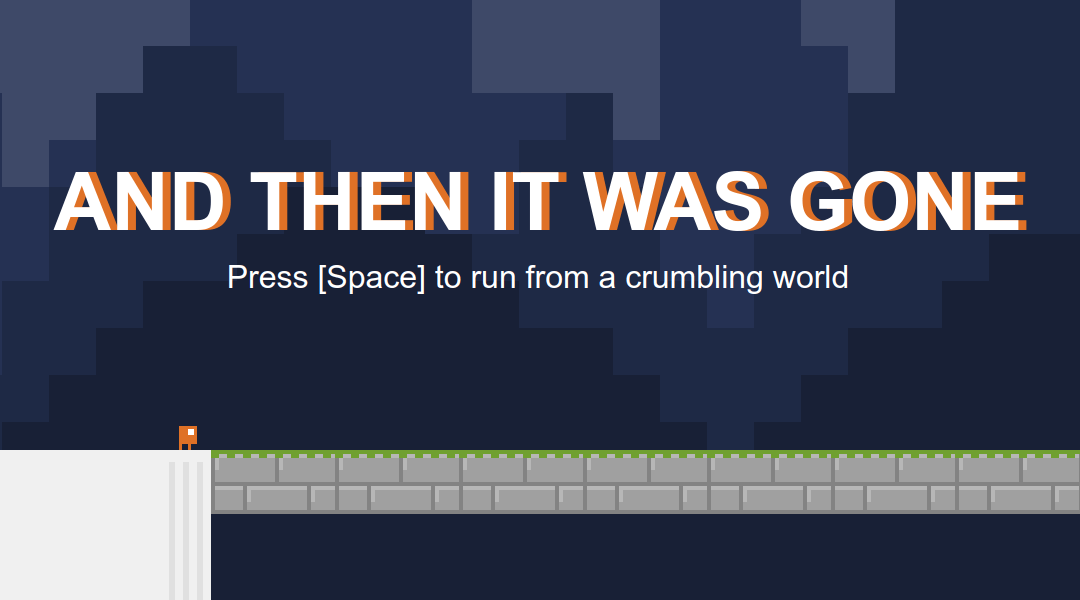
Start screen of my game.

This was the 3rd time I participated in the js13kGames game jam, so I was already aware of one thing: The size limit isn't my greatest problem, at least not to the extent of having to do code golfing right out of the gate. Instead I should make sure to have a good code base – multiple files for classes and namespaces as needed, named constants/variables instead of hardcoded values.

One really big advantage was, that I had already implemented things like an input system for keyboard and gamepad, and 2D collision detection in other projects of mine. I could just reuse some code with minor adjustments and save quite some time.

1. Improvement through little things

First some ideas on how to improve the general impression of the game, even though the player may not be actively aware of them.

Read more

js13kGames: Tricks applied in Risky Nav

Risky Nav

From the 13th August to the 13th September I participated in the js13kGames competition. My entry Risky Nav can be seen here and the source code is on GitHub here. In this blog post I will explain some of the tricks and techniques I used in making my game.

The game is tile based, so everything – player, monsters, goal – is always positioned at a (x, y) position on a 2D map.

About the background

The background is a single image which is created once right at the beginning. It is drawn on a canvas and each tile is 1px big. In the rendering loop it is then up-scaled to the desired tile size. To avoid a blurry image, it is necessary to disable anti-aliasing.

context.imageSmoothingEnabled = false;

let w = bgCanvas.width * tileWidth;
let h = bgCanvas.height * tileHeight;

function renderLoop() {
    context.drawImage( bgCanvas, 0, 0, w, h );
}

About the fog/shadow

The fog/shadow around the player is done in a similar way as the background. The image is pre-rendered with each tile being 1px and then up-scaled in the main loop. But it moves with the player. The darkness is determined by the euclidean distance from the player.

for( let y = 0; y < fogMapHeight; y++ ) {
    for( let x = 0; x < fogMapWidth; x++ ) {
        // Euclidean distance from origin.
        let de = Math.sqrt( x * x + y * y );

        // Darkness only starts 2 tiles away from the player.
        // f has to be a value between 0 and 1.
        let f = ( de < 2 ) ? 0 : Math.min( 1.15 - Math.min( 3 / de, 1 ), 1 );
        fogCtx.fillStyle = `rgba(0,0,0,${f})`;
        fogCtx.fillRect( x, y, 1, 1 );
    }
}
Read more

JavaScript source protection with NW.js

You can minify and uglify JavaScript files, but technically the source code of your distributed NW.js application is still readable. But NW.js also provides the means to compile JavaScript to a binary file and then load it as part of the application. The command line tool nwjc to create the binary file is included in the SDK version.

Assuming you have a JavaScript file js/private.js:

'use strict';

function secretFunction( foo ) {
    return foo * 4;
};

Then you can compile it like this to a file js/private.bin:

$ ./nwjs-sdk-v0.30.5-linux-x64/nwjc js/private.js js/private.bin

Internally the tool uses the V8 snapshot feature, which means the versions have to match. A binary file created with NW.js 0.30 can only be loaded by 0.30. Binary files also do not work cross-platform. For each platform it is necessary to compile its own binary file with the SDK for the same platform.

To then load the binary file in your application, it works like this:

let win = nw.Window.get();
win.evalNWBin( null, 'js/private.bin' );

let value = secretFunction( 4 ); // returns 16

Note however that the loading is per window. If you open another window in your application, the file has to be loaded there again.

Using the DevTools you can of course find the functions and variables which have been loaded from the file. The function implementation however is protected:

> String( secretFunction )
< "function secretFunction() { [native code] }"

DevTools issues

Update 2018-12-15: Since NW.js 0.34 this issue seems to be fixed. Loading binary files works even with the DevTools open.


There is an issue with loading binary files and the DevTools. Basically you cannot have the DevTools open and then load the file. There will be no error, but the contents will not be available. This is a known issue.

My temporary solution is to just close the DevTools. But just closing them right before is not enough, you also have to use a timeout before loading the file:

let win = nw.Window.get();

// Function is only available in the SDK build.
if( typeof win.closeDevTools === 'function' ) {
    win.closeDevTools();
}

setTimeout( () => {
    win.evalNWBin( null, 'js/private.bin' );
}, 500 );

But why not check first if the DevTools are open? Then you could open them again afterwards. According to the API documentation there is win.isDevToolsOpen(). But it exists only in the documentation. Using the SDK build there is de facto no such function. This too is a known issue.

Wine for Windows

I successfully used Wine 3 to compile a binary file for the Windows version of a NW.js application and then load it there. So if you are on Linux or macOS you will not need Windows for your build process. You should of course still test your application to make sure it works on all targeted platforms.

Using NW.js to communicate with a DS4 controller

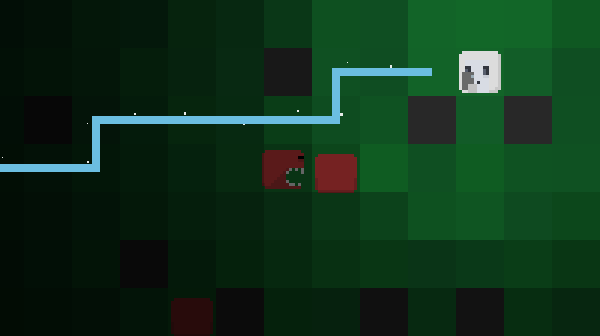
DS4 green light

NW.js still provides the Chrome Apps API which has been removed from Chrome, but not ChromeOS. This will allow us to access in a platform-independant manner devices which are connected with the PC per USB.

Without this API, a 3rd party Node.js module like node-hid could be used. This will however come with platform-dependant libraries and will have to be updated or rebuild each time the Node.js version changes.

This article concentrates on sending data to the controller. However it is also possible to retrieve data like pressed buttons using the established connection. Aside from using chrome.hid there is also the Gamepad API for read-only access.

Identifying the controller

First we need a way to identify the DS4. Devices come with a vendor Id and product Id. According to the Gentoo Wiki they are as follows:

Device Vendor Id Product Id
DS4 (1st gen) hex 054C / dec 1356 hex 05C4 / dec 1476
DS4 (2nd gen) hex 054C / dec 1356 hex 09CC / dec 2508

Having tested with both devices, I can also confirm the Ids.

Get the device

For all communication with the device, we will use the chrome.hid API. First we define a filter using the vendor and product Id, and then query the available devices:

var filter = {
    filter: [
        { vendorId: 1356, productId: 1476 },
        { vendorId: 1356, productId: 2508 }
    ]
};

chrome.hid.getDevices( filter, ( devices ) => {
    // Error handling.
    if( chrome.runtime.lastError ) {
        console.error( chrome.runtime.lastError );
        return;
    }
    if( !devices ) {
        return;
    }

    var device = devices[0];
    // Next: Connect to the device.
};
Read more

Standalone-Anwendungen mit node-webkit

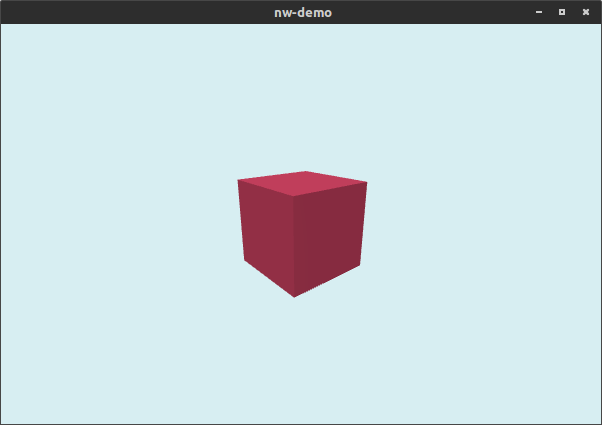
node-webkit demo window

Gestern habe ich ein wenig in node-webkit reingeschnuppert. Damit sollen sich ganz einfach Desktop-Anwendungen auf Basis von HTML, JavaScript und Node.js erstellen lassen. Die erstellte Anwendung lässt sich dann relativ einfach für verschiedene Betriebs­systeme verpacken. Für nicht allzu rechen-intensive Spiele scheint mir das recht interessant. Tatsächlich verwendet auch das kürzlich erschiene A Wizard's Lizard node-webkit [1].

Für eine kleine Demo habe ich das Beispiel von three.js genommen und als Anwendung verpackt. Das HTML und JavaScript lasse ich hier mal aus. Mein package.json für ein Fenster ohne Toolbar sieht wie folgt aus:

{
	"main": "index.html",
	"name": "nw-demo",
	"window": {
		"frame": true,
		"height": 600,
		"kiosk": false,
		"toolbar": false,
		"width": 900
	}
}
Read more