Seit der Übernahme von Twitter durch Elon Musk sehen viele Benutzer die dortigen Entwicklungen mit Sorge: Große Kündigungswellen; Angestellte, die im Büro übernachten; mangelnde Moderation und Abschalten der Pressestelle; Hin-und-Her um das blaue Verifizierungshäkchen, welches durch Twitter Blue nichts mehr mit Verifizierung zu tun hat und so Identitäts-Imitation Tür und Tor geöffnet hat; das Killen von Drittanbieter-Apps … Ich habe bereits ein paar Punkte ausgelassen, aber solange es die Seite noch gibt, werden sicherlich weitere dazukommen.
Wenig erstaunlich also, wenn Nutzer stetig und besonders beim nächsten Vorkommnis abspringen oder zumindest parallel andere Social Media-Dienste ausprobieren.
Twitter-Gründer Jack Dorsey hat einen neuen Dienst namens Bluesky gegründet, der sich aktuell in der Beta-Phase mit Warteliste befindet, Meta hat kürzlich Threads gestartet, welches an Instagram gekoppelt ist – Anmeldungen sind innerhalb der EU jedoch bisher nicht möglich.
Und dann gibt es da wie üblich auch wieder die Open Source-Community, mit einer eigenen, nicht kommerziellen Antwort: Mastodon. Wobei dieses nicht neu ist, sondern jetzt aufgrund der Entwicklungen etwas vom Platz im Scheinwerferlicht erhält.
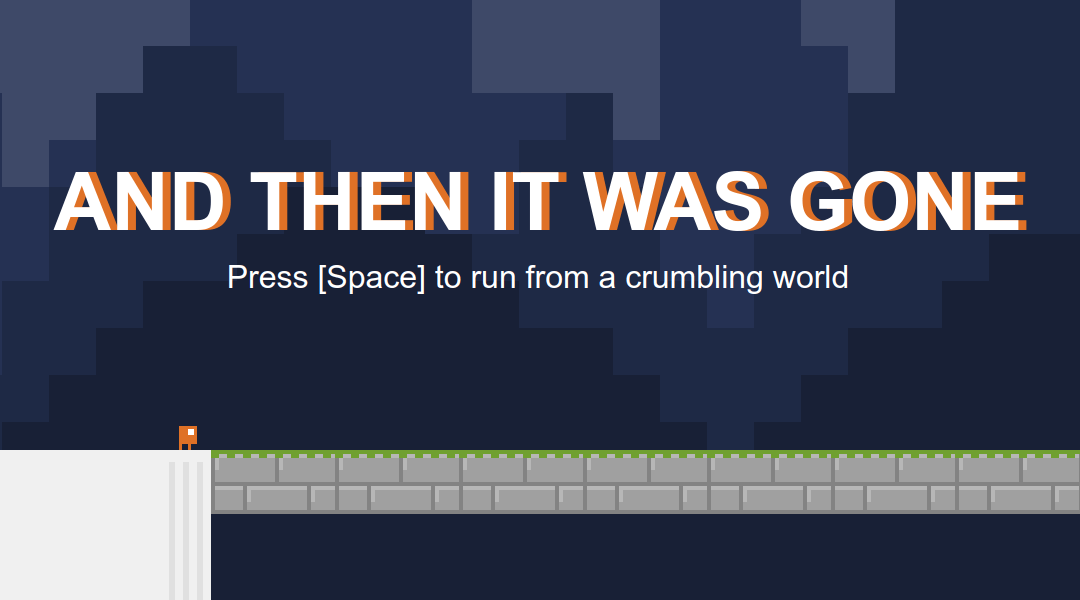
This was the 3rd time I participated in the js13kGames game jam, so I was already aware of one thing: The size limit isn't my greatest problem, at least not to the extent of having to do code golfing right out of the gate. Instead I should make sure to have a good code base – multiple files for classes and namespaces as needed, named constants/variables instead of hardcoded values.
One really big advantage was, that I had already implemented things like an input system for keyboard and gamepad, and 2D collision detection in other projects of mine. I could just reuse some code with minor adjustments and save quite some time.
1. Improvement through little things
First some ideas on how to improve the general impression of the game, even though the player may not be actively aware of them.
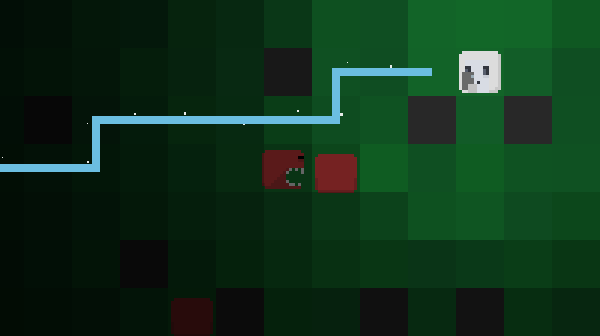
The game is tile based, so everything – player, monsters, goal – is always positioned at a (x, y) position on a 2D map.
About the background
The background is a single image which is created once right at the beginning. It is drawn on a canvas and each tile is 1px big. In the rendering loop it is then up-scaled to the desired tile size. To avoid a blurry image, it is necessary to disable anti-aliasing.
context.imageSmoothingEnabled = false;

let w = bgCanvas.width * tileWidth;
let h = bgCanvas.height * tileHeight;

function renderLoop() {
    context.drawImage( bgCanvas, 0, 0, w, h );
}
About the fog/shadow
The fog/shadow around the player is done in a similar way as the background. The image is pre-rendered with each tile being 1px and then up-scaled in the main loop. But it moves with the player. The darkness is determined by the euclidean distance from the player.
for( let y = 0; y < fogMapHeight; y++ ) {
    for( let x = 0; x < fogMapWidth; x++ ) {
        // Euclidean distance from origin.
        let de = Math.sqrt( x * x + y * y );

        // Darkness only starts 2 tiles away from the player.
        // f has to be a value between 0 and 1.
        let f = ( de < 2 ) ? 0 : Math.min( 1.15 - Math.min( 3 / de, 1 ), 1 );
        fogCtx.fillStyle = `rgba(0,0,0,${f})`;
        fogCtx.fillRect( x, y, 1, 1 );
    }
}
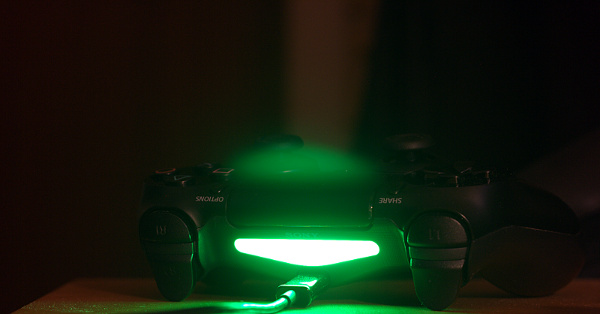
NW.js still provides the Chrome Apps API which has been removed from Chrome, but not ChromeOS. This will allow us to access in a platform-independant manner devices which are connected with the PC per USB.
Without this API, a 3rd party Node.js module like node-hid could be used. This will however come with platform-dependant libraries and will have to be updated or rebuild each time the Node.js version changes.
This article concentrates on sending data to the controller. However it is also possible to retrieve data like pressed buttons using the established connection. Aside from using chrome.hid there is also the Gamepad API for read-only access.
Identifying the controller
First we need a way to identify the DS4. Devices come with a vendor Id and product Id. According to the Gentoo Wiki they are as follows:
Device
Vendor Id
Product Id
DS4 (1st gen)
hex 054C / dec 1356
hex 05C4 / dec 1476
DS4 (2nd gen)
hex 054C / dec 1356
hex 09CC / dec 2508
Having tested with both devices, I can also confirm the Ids.
Get the device
For all communication with the device, we will use the chrome.hid API. First we define a filter using the vendor and product Id, and then query the available devices:
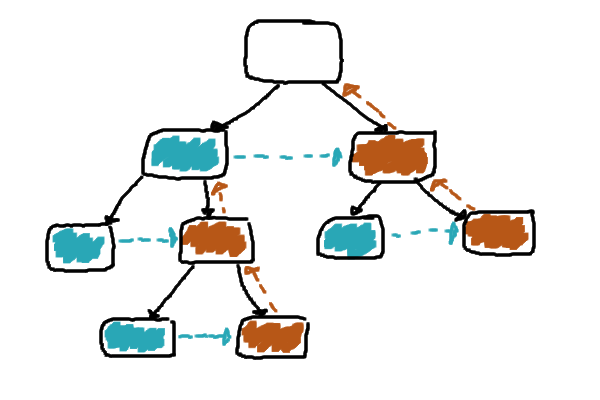
Im Path Tracing verwendet man spezielle Datenstrukturen für die Geometrie, um diese schneller gegen die Strahlen testen zu können. Eine der üblichsten ist dabei die Bounding Volume Hierarchy (BVH) – ein Binärbaum, der die Szene immer weiter unterteilt. Einen solchen Baum würde man normalerweise rekursiv durchlaufen. Auf der GPU mit OpenCL steht jedoch keine Rekursion zur Verfügung.
Was man daher macht, ist, selbst einen kleinen Stack zu verwalten, in dem man sich den nächsten zu besuchenden Knoten merkt. Dieser Stack benötigt jedoch zusätzlichen privaten Speicher, welcher knapp bemessen ist, und dadurch die Anwendung ausbremst. Wünschenswert ist daher ein Verfahren, das ohne Stack auskommt.
Aufbau und Ablauf
Jeder Knoten hat entweder genau zwei oder keine Kindknoten.
Jeder Knoten hat zudem ein Attribut nextNode.
Für den linken Kindknoten zeigt nextNode auf den rechten Geschwisterknoten.
Für den rechten Kindknoten zeigt nextNode auf den Elternknoten.